Visual Studio Code
Download the latest version from https://code.visualstudio.com/download.
Note
Visual Studio Code (VS Code) is the best option to edit your documentation. It provides external extensions that will help you in your documentation journey.
However, as DocFx is based on Markdown you can use the editor of your choice.
Docs Markdown Extension
This extension provides Markdown authoring assistance for docs.microsoft.com content in the Open Publishing System (OPS), including basic Markdown support and support for custom Markdown syntax in OPS. Here is a quick demo - the rest of the readme provides details about using the extension:

Install
https://marketplace.visualstudio.com/items?itemName=docsmsft.docs-markdown
How to use the extension
To access the Docs Markdown menu, type ALT+M. You can click or use up/down arrows to select the function you want, or type to start filtering, then hit ENTER when the function you want is highlighted in the menu.
You can also now access the Docs commands from the VS Code command palette. Hit F1 to open the command palette and start typing to filter. All the Docs commands begin with "Docs".
The following commands are available:
| Function | Command | Description |
|---|---|---|
| Bold | formatBold | Formats text bold. |
| Italic | formatItalic | Formats text italic. |
| Code | formatCode | If one line or less is selected, formats text as inline code.If multiple lines are selected, formats them as a fenced code block, and allows you to optionally select a supported programming language. |
| Numbered list | insertNumberedList | Inserts a new numbered list. If multiple lines are selected, each will be a list item. To create a nested numbered list, tab from within the parent list. |
| Bulleted list | insertBulletedList | Inserts a new bulleted list. |
| Table | insertTable | Inserts a Markdown table structure. After you select the table command, specify the number of columns and rows in the format columns:rows, such as 3:4. Note that the maximum number of columns you can specify via this extension is 5, which is the recommended maximum for readability. |
| Link | selectLinkType | Inserts a link. When you select this command, the following sub-menu appears.External: Link to a web page by URI. Must include "http" or "https".Internal: Insert a relative link to another file in the same repo. After selecting this option, type in the command window to filter files by name, then select the file you want.Bookmark in this file: Choose from a list of headings in the current file to insert a properly formatted bookmark.Bookmark in another file: First, filter by file name and select the file to link to, then choose the appropriate heading within the selected file. |
| Image | insertImage | Type alternate text (required for accessibility) and select it, then call this command to filter the list of supported image files in the repo and select the one you want. If you haven't selected alt text when you call this command, you will be prompted for it before you can select an image file. |
| Include | insertInclude | Find a file to embed in the current file. |
| Snippet | insertSnippet | Find a code snippet in the repo to embed in the current file. |
| Template | applyTemplate | Opens the list of available Markdown authoring templates, if the Docs Article Templates extension is installed. |
| Video | insertVideo | Add an embedded video. |
| Preview | previewTopic | Preview the active topic in a side-by-side window using the Docs Preview extension, if it is installed. |
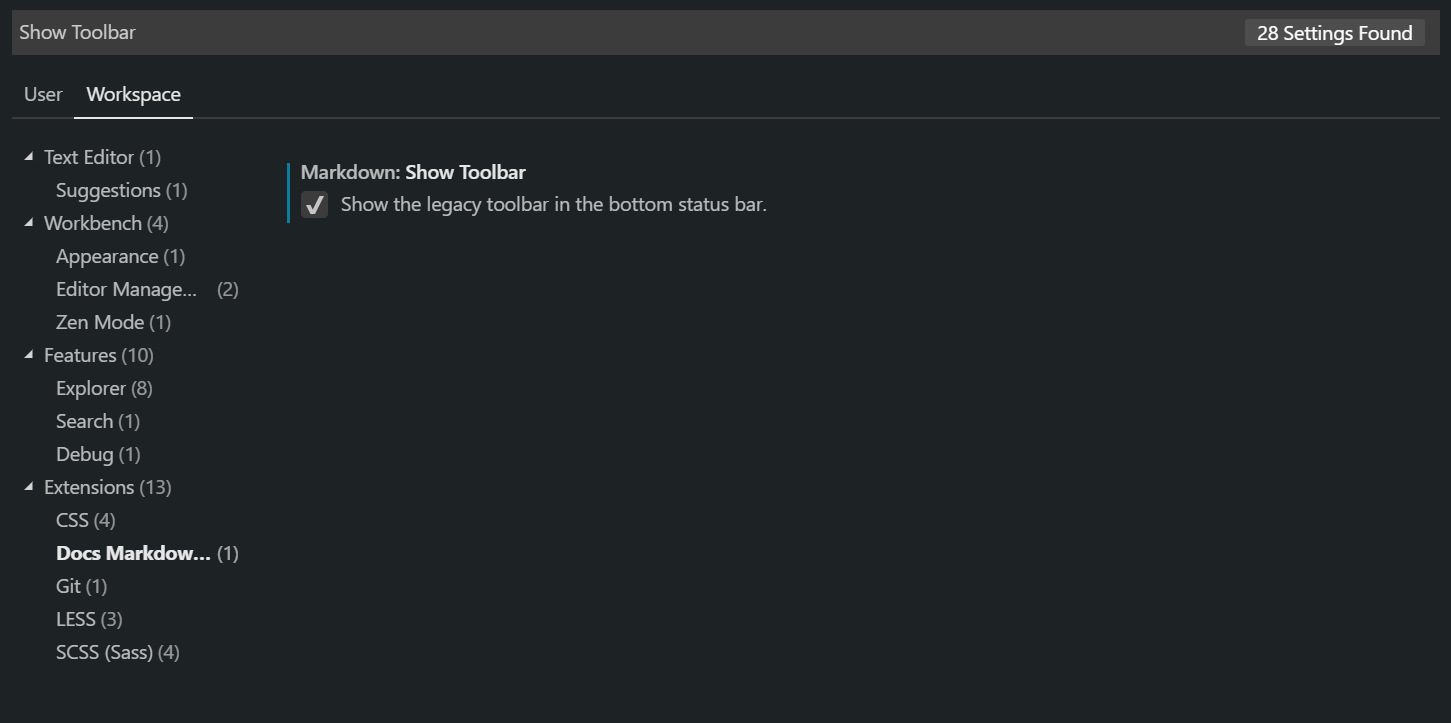
Show the Toolbar

You can add shortcut icons on the VS Code status bar by doing the following:
- In VS Code, go to File -> Preferences -> Settings
CTRL+Comma. - Search for
Show Toolbarand selectDocs Markdownin theExtensionsnode. - Check
Show the legacy toolbar in the bottom status bar..
Check the full documentation from the marketplace.
Docs Preview Extension
This extension uses the docs.microsoft.com CSS to provide more accurate preview for Markdown published to Docs via the Open Publishing System (OPS). This includes all Markdown as supported by the CommonMark specification, as well as custom Markdown syntax for Docs, such as:
- Alerts (note, tip, important, caution, and warning).
- Embedded code snippets.
- Tabbed content.
Install
https://marketplace.visualstudio.com/items?itemName=docsmsft.docs-preview
How to use the extension
- Hit F1 to open the VS Code command palette.
- Start typing to filter the list of commands.
- Select Docs: Preview. The preview will open side-by-side.
Documentation Workflow with VS Code
This section provide some guidance on how to efficentily use VS Code to write documenation.
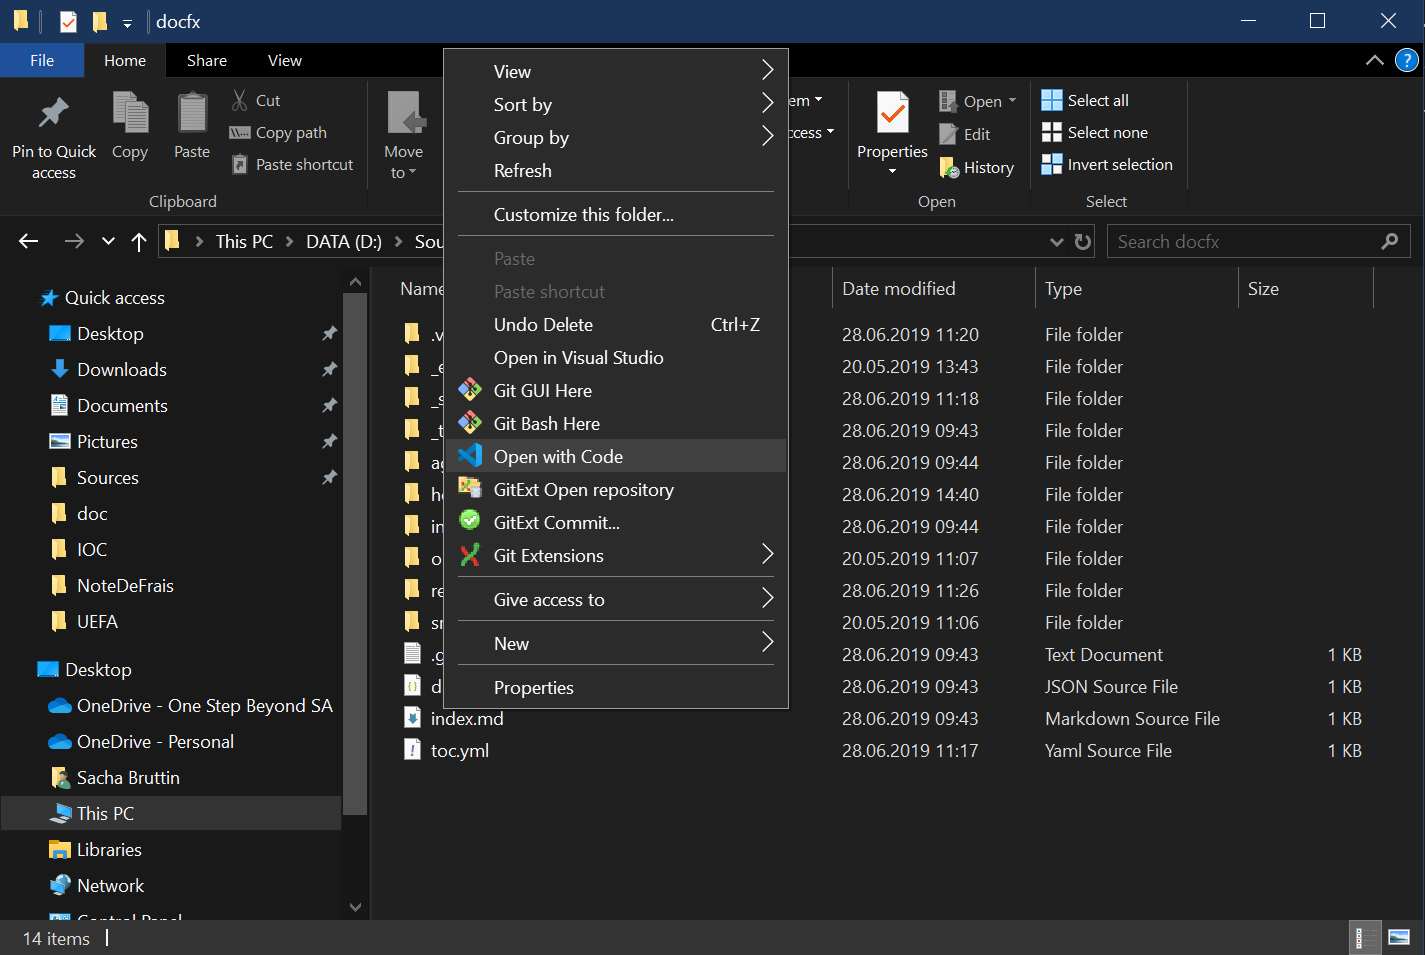
Start VS Code
First, open VS Code. From Explorer, navigate to the docfx folder, open the context menu (righ-click) and select Open with Code.
From the command line:
cd .\docfx
code .
Start the development server
From VS Code, open the Terminal View Ctrl+¨ and run docfx .\docfx.json --serve
The DocFx website is created if not already present and the local server is up and running at http://localhost:8080.
Warning
Do not stop the process until you exit VS Code.
Note
You could also use Live Server extensions in VS Code to launch a local developement server with live reload feature.
Update documentation
Add new pages or edit existing on directly VS Code. Open a Preview page with F1 + >Docs: Preview.
Check your changes on a Browser
From VS Code, open a new Terminal View Ctrl+Shift+¨ and run docfx build.
Check your changes on your browser http://localhost:8080.